 | 
Some
Tips and Tricks |
Dear
World, Recently
I've been experimenting with an Open Source piece of graphic manipilation software
called The Gimp. This software has many of the same features of packages like
Photoshop and Ulead, but it is free. 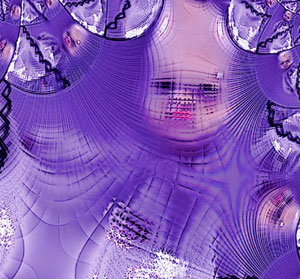 | In
the New South Wales Art syllabus it encourages students to experiment with computer
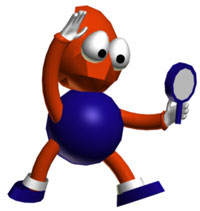
software to produce artworks. This
was made by scanning a doll and then experimenting with the colour tools and the
filters. |
Ideas
for classroom activities: *
compare the features of demo versions of commercial software with the open source
software.
*
have the students take head and shoulders photos of each other with a digital
camera and then experiment with manipulating the portraits with The Gimp. This
activity is heaps of fun and there are heaps of laughs to be had :) NB I tend
not to let them experiment with each others' portraits as often they do not like
the way they appear. *
Produce poetry
over a copyright free photo. *
redesign a bookcover
*
scan real 3D objects and manipulate them to make an artwork. *
Explore the the layers function and the SCAMPER process like in these postcards
that I had the children enter in a competion. They children won 17 prizes :) *
Scan the blackline outline of a colouring in competition and have the children
colour the resulting image with The Gimp. My students once did this and won tickets
to the movies. Tips
and Tricks: *
Pair
students up and assign them all different filters to experiment with and then
report back to the group. This will enable you to learn the program more quickly.
*
Have the students experiment with Tools / Colour Tools - You'll find heaps of
artistic effects here. *
Ban 'writing on' or 'drawing on' the photo to avoid cliches and head to a more
photographic response. *
Explore & discuss computer graphics on book covers, magazines and on TV then
try to emulate them using The Gimp. |